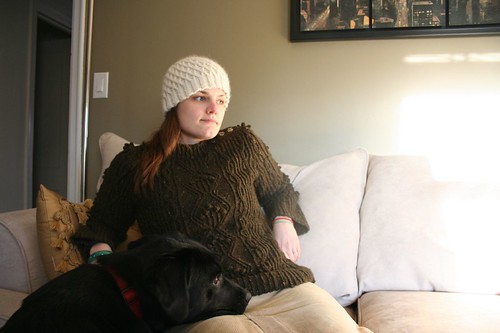
I've waited a year to write this post - Demi is done and I couldn't be happier. I stalled out on this sweater after lingering doubt about sizing got the best of me. Way back when I was first questioning the size, a couple of you gave me some sage advice that warned of Yorkshire Tweed's growing power and so I pushed on - well, after letting the WIP collect dust for several months. And, hell yeah, I'm wearing it today (now yesterday by the time I'm posting this!) despite the balmy temps.
As I mentioned above, I went down a needle size for this sweater which brings forth another pet peeve of mine: when an undershirt is visible through the sweater. I have a hard enough time selecting clothes in the morning without having to match my undershirt to my sweater. The resulting fabric is nice and thick, yet still drapey. And not see through - bonus!
Warning: I went a teensy bit overboard with pictures.
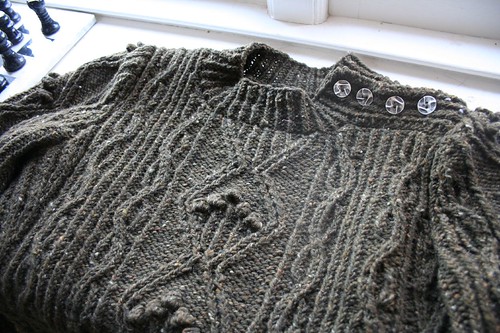
Pattern: Demi by Kim Hargreaves
Source: Rowan Vintage Style
Yarn: Rowan Yorkshire Tweed Aran in Thorny purchased here
Needles: Size 6 & 7 Addis - down a size from the pattern.
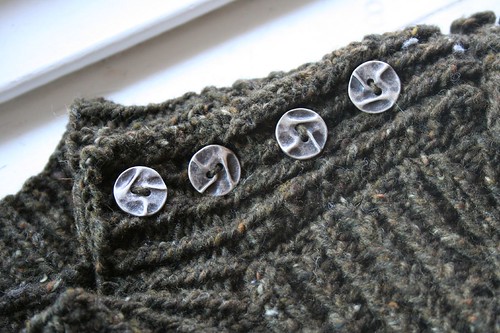
Buttons: From Joann's
Dates Knitted: January 2007 - February 17, 2008. Sad and Pathetic.
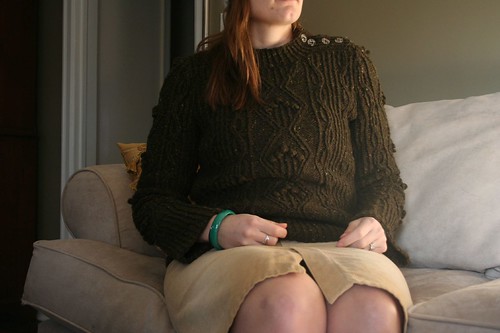
Mods: For me, a sweater's length is directly related to its wearability. I added three whole inches to the body of this sweater and a couple extra inches to the sleeves. I'm medium tallish (5'5-5'6) for reference. There's nothing worse in my book than getting a draft at your waistline while wearing a nice, thick wooly sweater.
As I mentioned above, I went down a needle size for this sweater which brings forth another pet peeve of mine: when an undershirt is visible through the sweater. I have a hard enough time selecting clothes in the morning without having to match my undershirt to my sweater. The resulting fabric is nice and thick, yet still drapey. And not see through - bonus!
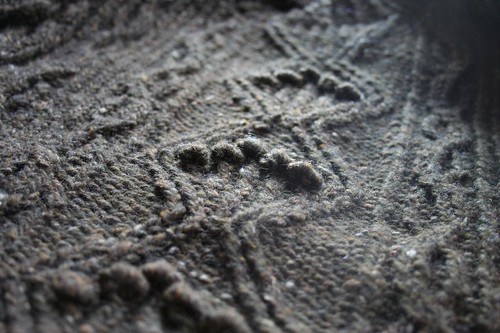
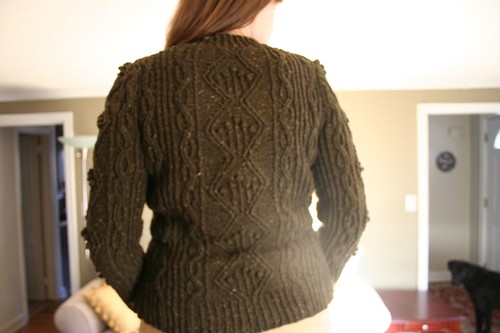
Bobbles: I'm one of the few self-professed bobble-lovers out there. (Funny side note: When I solicited my husband's opinion about the sweater, his only comment was " you know there are weird balls stuck all over it?" Apparently, he doesn't understand the essence of the bobble.") I knit the back first with only three-stitch bobbles, rather than five-stitch. But the three-stitch just weren't bobbley enough for me, so I upgraded to the five-stitch on the front and sleeves. Surprisingly, I don't think the bobble variation looks weird. I could be deluded, though.
Fit: Despite my initial sizing concerns, this sweater fits EXACTLY the way I envisioned - somewhat fitted, yet big enough to serve as a top layer.
My favorite part: The button band. These directions really threw me off. I had to completely let me guard down and follow Kim's directions. Plus, I had some weird mental block getting all the piece names straight. Left front shoulder band? Button band? (Okay, I probably should have been able to guess that one). I was concerned the layering of these mini-pieces would get bulky and look silly, but it looks perfectly polished once assembled and really adds character to the sweater. Can you tell I love it?
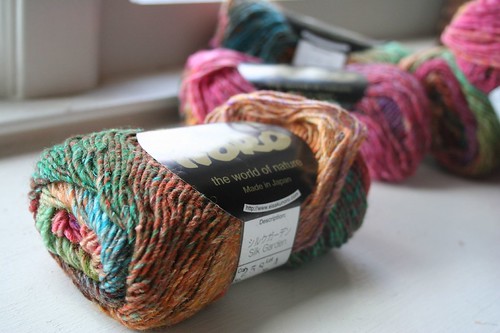
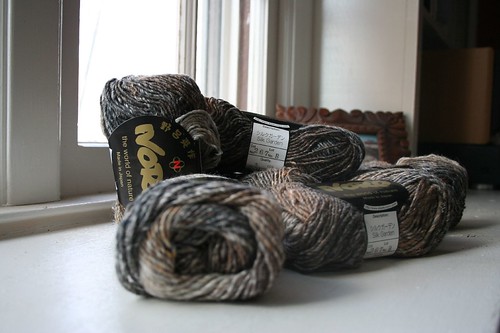
Getting Demi, my longest running WIP ever, off my needles has given me a newfound freedom! I still have much of my Farmhouse Yarns haul burning a hole in my yarn, um, dresser and a some new Noro goodness brought back by my parents from Hong Kong just begging to be ... something. I'm thinking a cowly pullover?
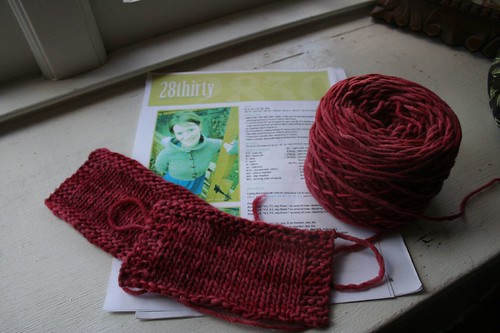
Maybe 28 thirty?
Comments